
DIY Wedding Dance Floor
How I Built a Custom Lighted Monogram Dance Floor for a
Remote Wedding
Project Snapshot
• Built a custom 16' x 16' dance floor for a backyard wedding at our family cabin
• Designed to break down into 4' x 8' sections for easy transport and storage
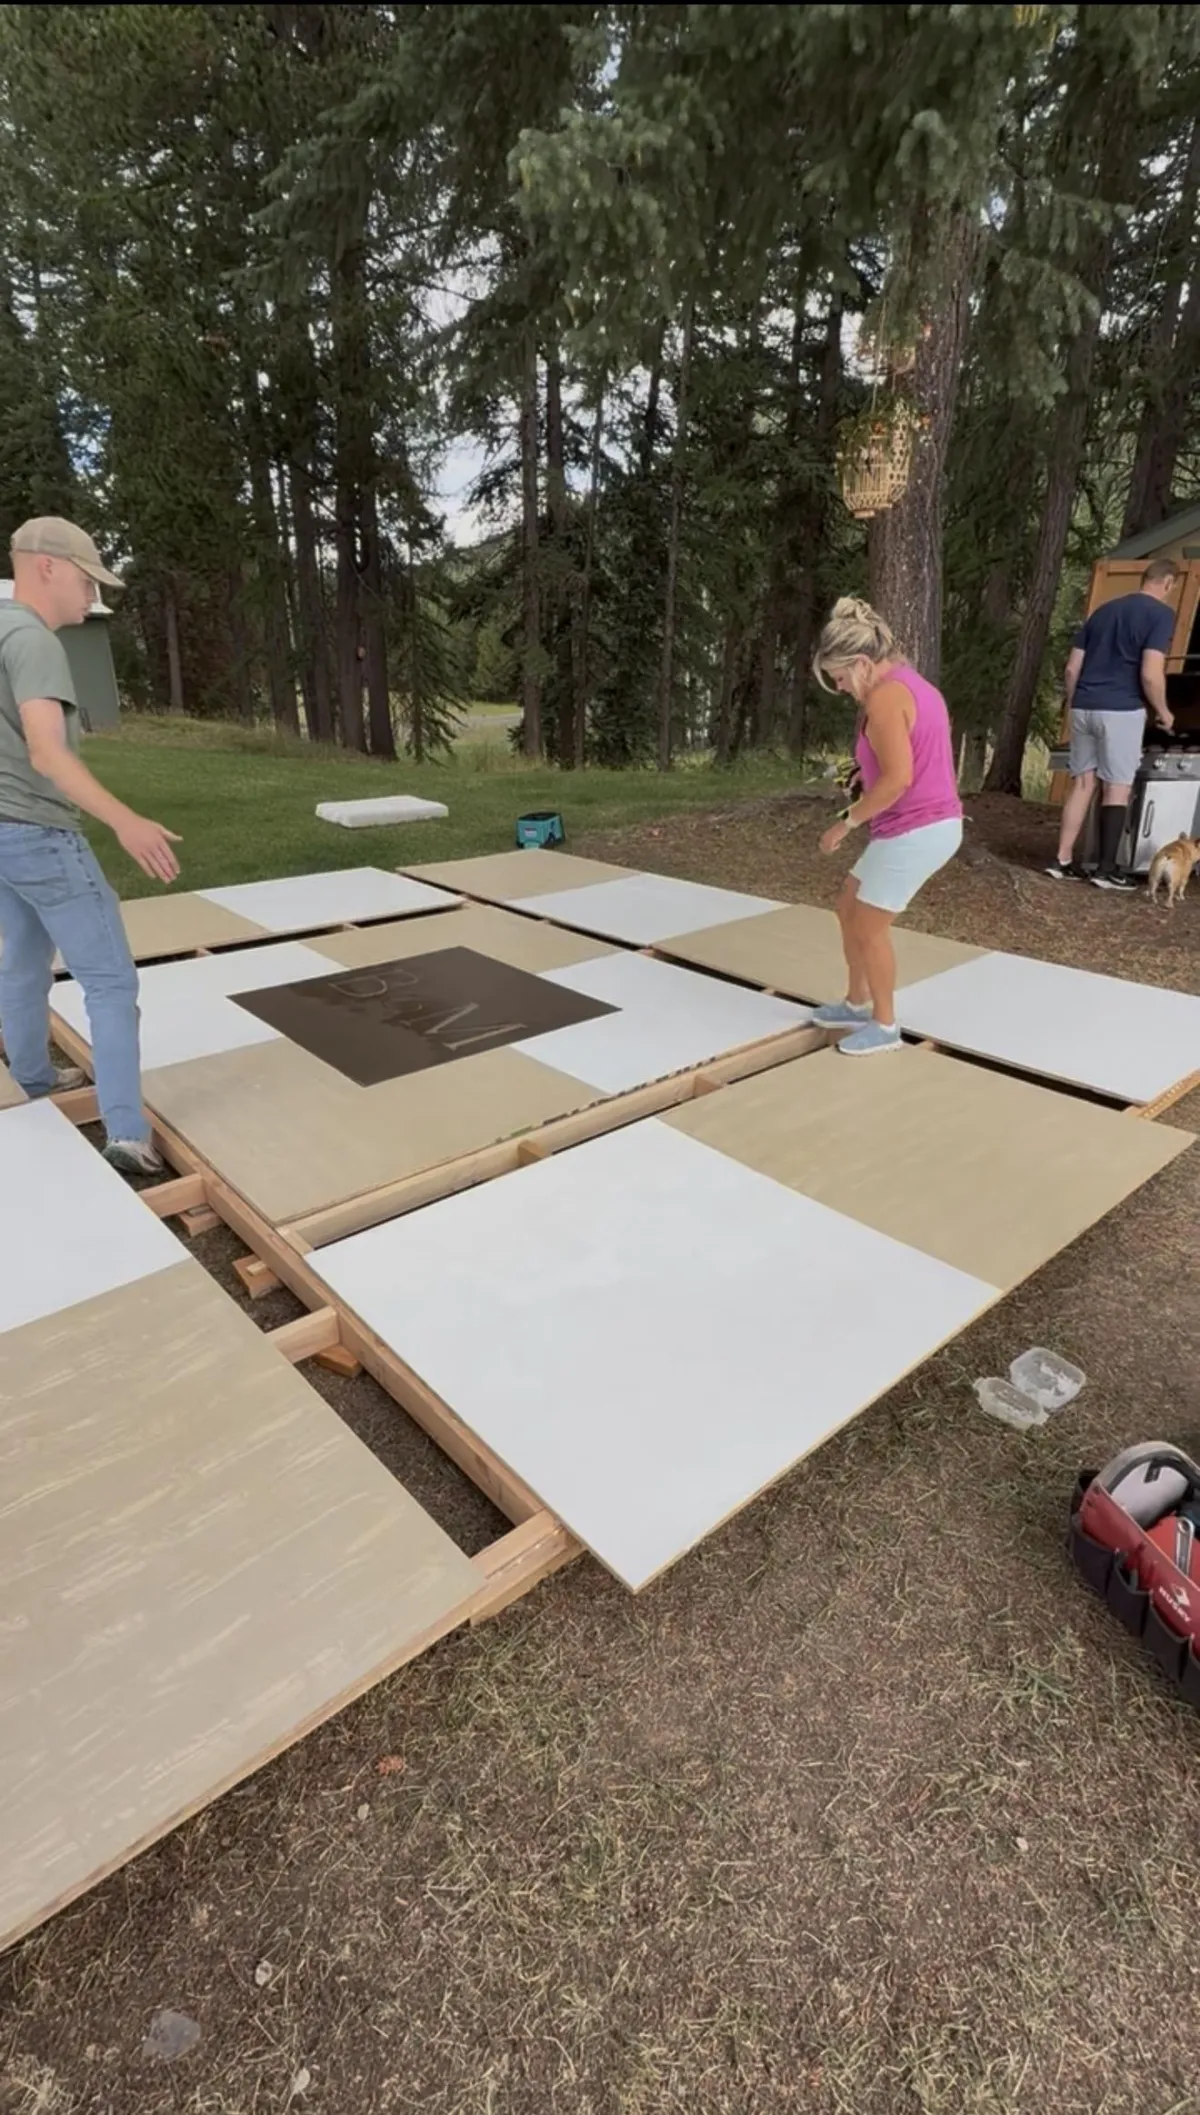
• Alternating white and faux white oak wood grain panels created a classic dance floor pattern
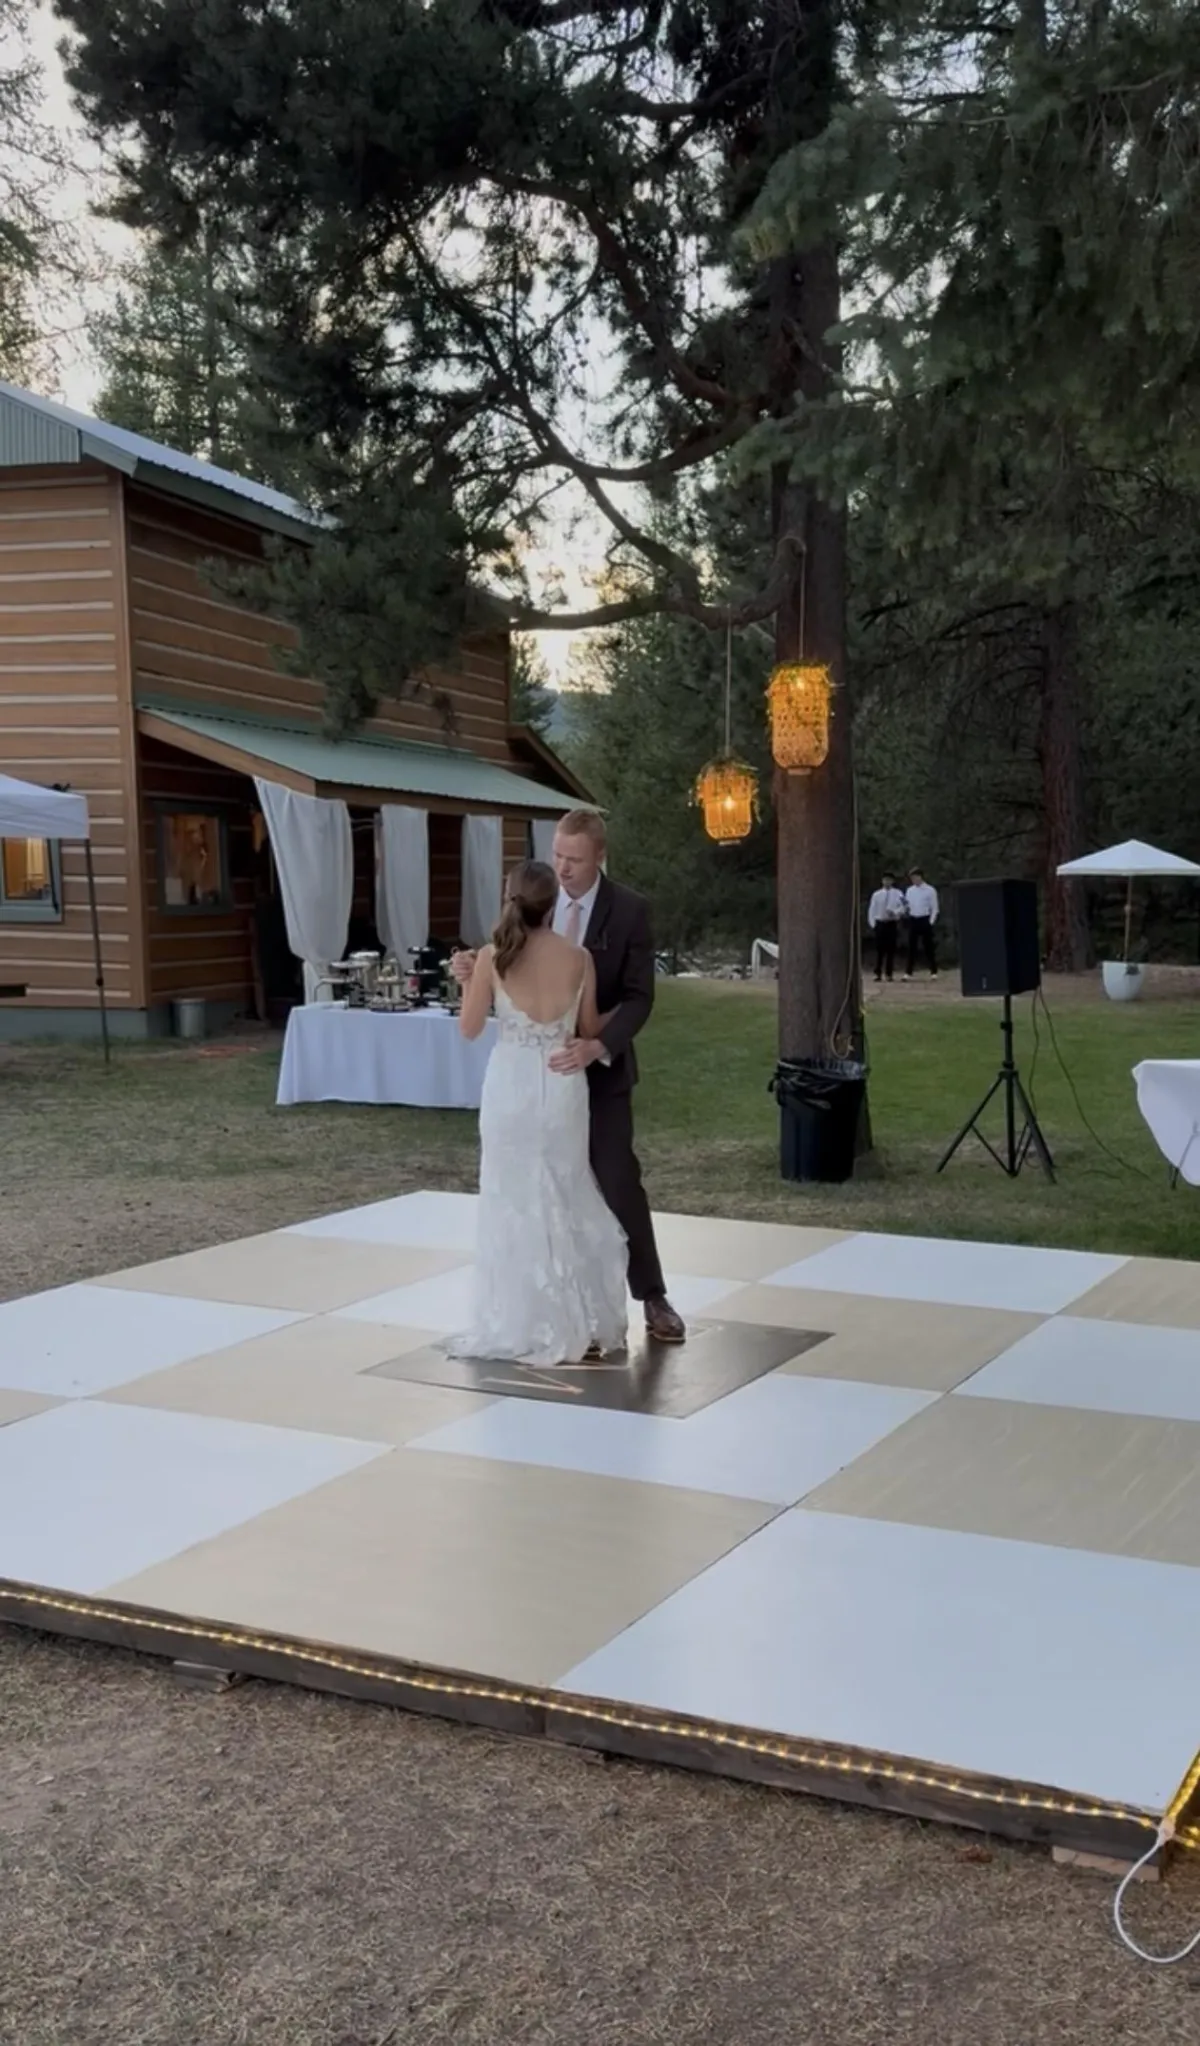
• Custom epoxy monogram center panel lit from underneath
• Rope lighting added around the perimeter for ambiance and safety
The Build
The Install
First Dance
When my son and his fiancée decided to get married at our family cabin, we quickly realized installing a professional dance floor in such a remote location would be expensive and complicated. Since they love to dance, I decided to try building one myself.
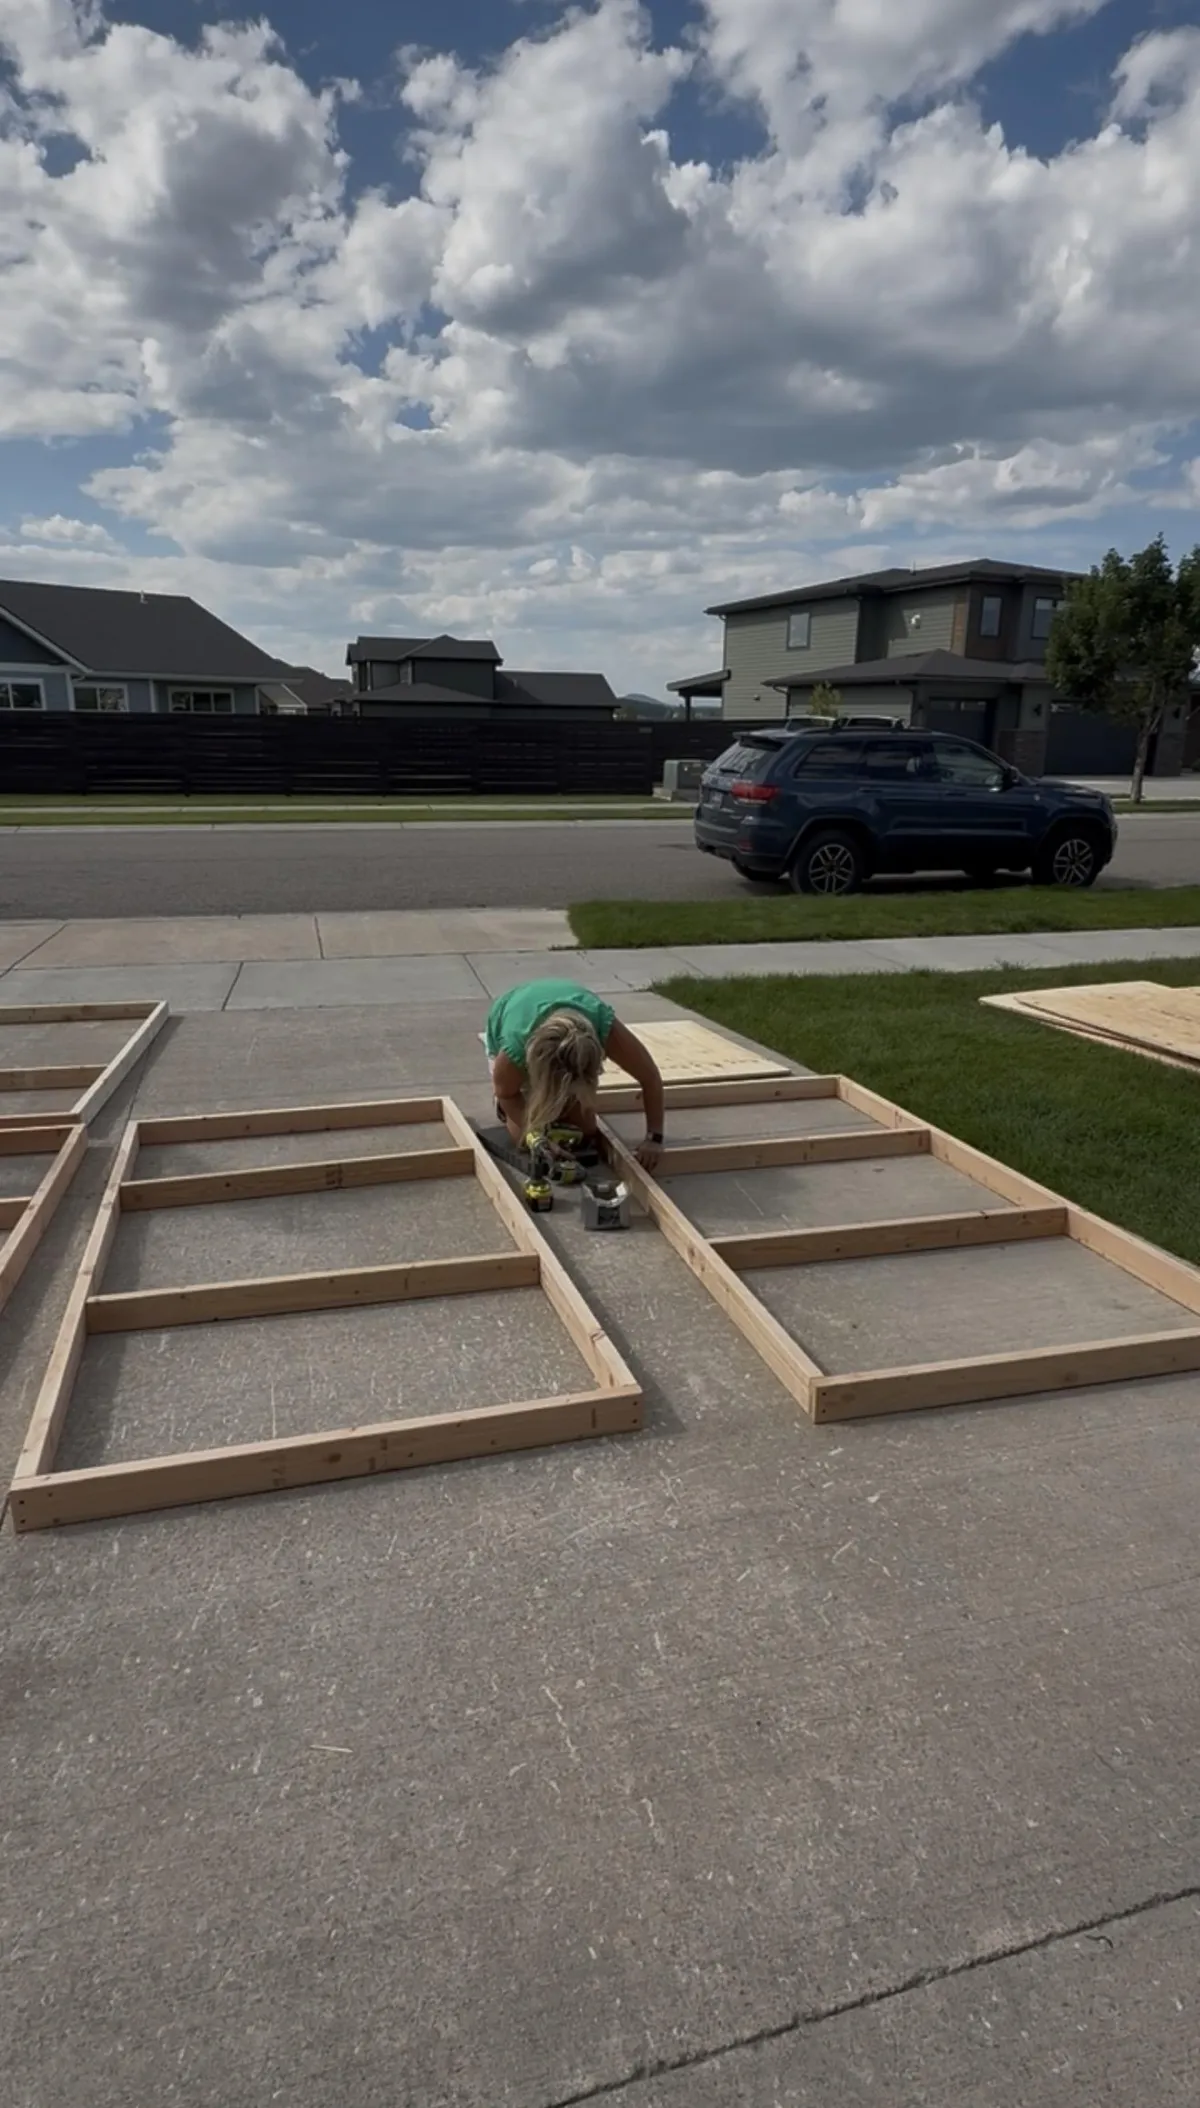
I sketched the concept on a yellow notepad and got to work. A friend of mine, Bill, joined me for the build, and together we cut and assembled the floor section by section.
To make transportation easier, the entire floor was designed to break down into 4' x 8' panels, the size of plywood sheets. The only exception was the 4' x 4' center section, where I created a custom epoxy monogram with the couple’s initials.
To make the floor feel special, I added lighting underneath the monogram so it would glow during the reception. I wasn’t sure if it would hold up to a night of dancing, but it worked beautifully.
Each panel was painted in alternating squares of white and faux white oak wood grain, using a simple wood grain tool to create the texture. After the paint layers were finished, I applied a light stain to deepen the wood look and sealed everything with multiple coats of polyurethane to protect the surface.
For the finishing touch, I added rope lighting around the perimeter to create a warm glow and prevent guests from tripping on the 4" step.
Next to the bride, the dance floor definitely became the star of the evening.
Design Strategy
• Built modular 4' x 8' sections so the floor could be transported and stored easily
• Alternating white and faux wood squares created the classic wedding dance floor look
• Center epoxy monogram panel added a custom focal point
• Under-lighting made the monogram glow during the reception
• Rope lighting around the perimeter improved visibility and added ambiance
DIY Lessons Learned
• Designing projects in modular sections makes large builds much easier to transport
• A wood grain tool is a simple way to create realistic faux wood finishes
• Multiple coats of polyurethane are essential for durability on high-traffic surfaces
• Lighting elements dramatically elevate DIY projects and create a focal point
• Even without formal plans, starting with a simple sketch can guide a complex build successfully
Watch us build it!
Want the exact tools and materials I used?
Shop the sources below.
Some links may be affiliate links.
How it came together!
SHOP THE PRODUCTS, MATERIALS, AND TOOLS
I USE TO DESIGN AND BUILD MY HOME
CLICK ON ANY IMAGE FOR THE LINKS
You've seen the projects.
Now build them yourself.
Step-by-step guidance, project plans, and designer support.
Everything you need to transform your home with confidence.
Design-led DIY education for women ready to build confidently.
Quick Links
Copyright 2026 Design with Rhonda | Terms & Conditions | Privacy Policy