
RTA (Ready-to-Install) Cabinets:
DIY Pantry Storage and Dining Room Buffet Transformation
How RTA Cabinets Solved My Pantry Storage Problem and Created a Beautiful Dining Room Buffet
Location: Dining Room
Project Type: Pantry Storage and Buffet Installation
Cabinet Style: Flush Inset RTA Cabinets
Cabinet Color: Tuscan Gray
DIY Level: Beginner to Intermediate
Key Materials: RTA cabinets, butcher block countertop, floating shelves, mini refrigerator
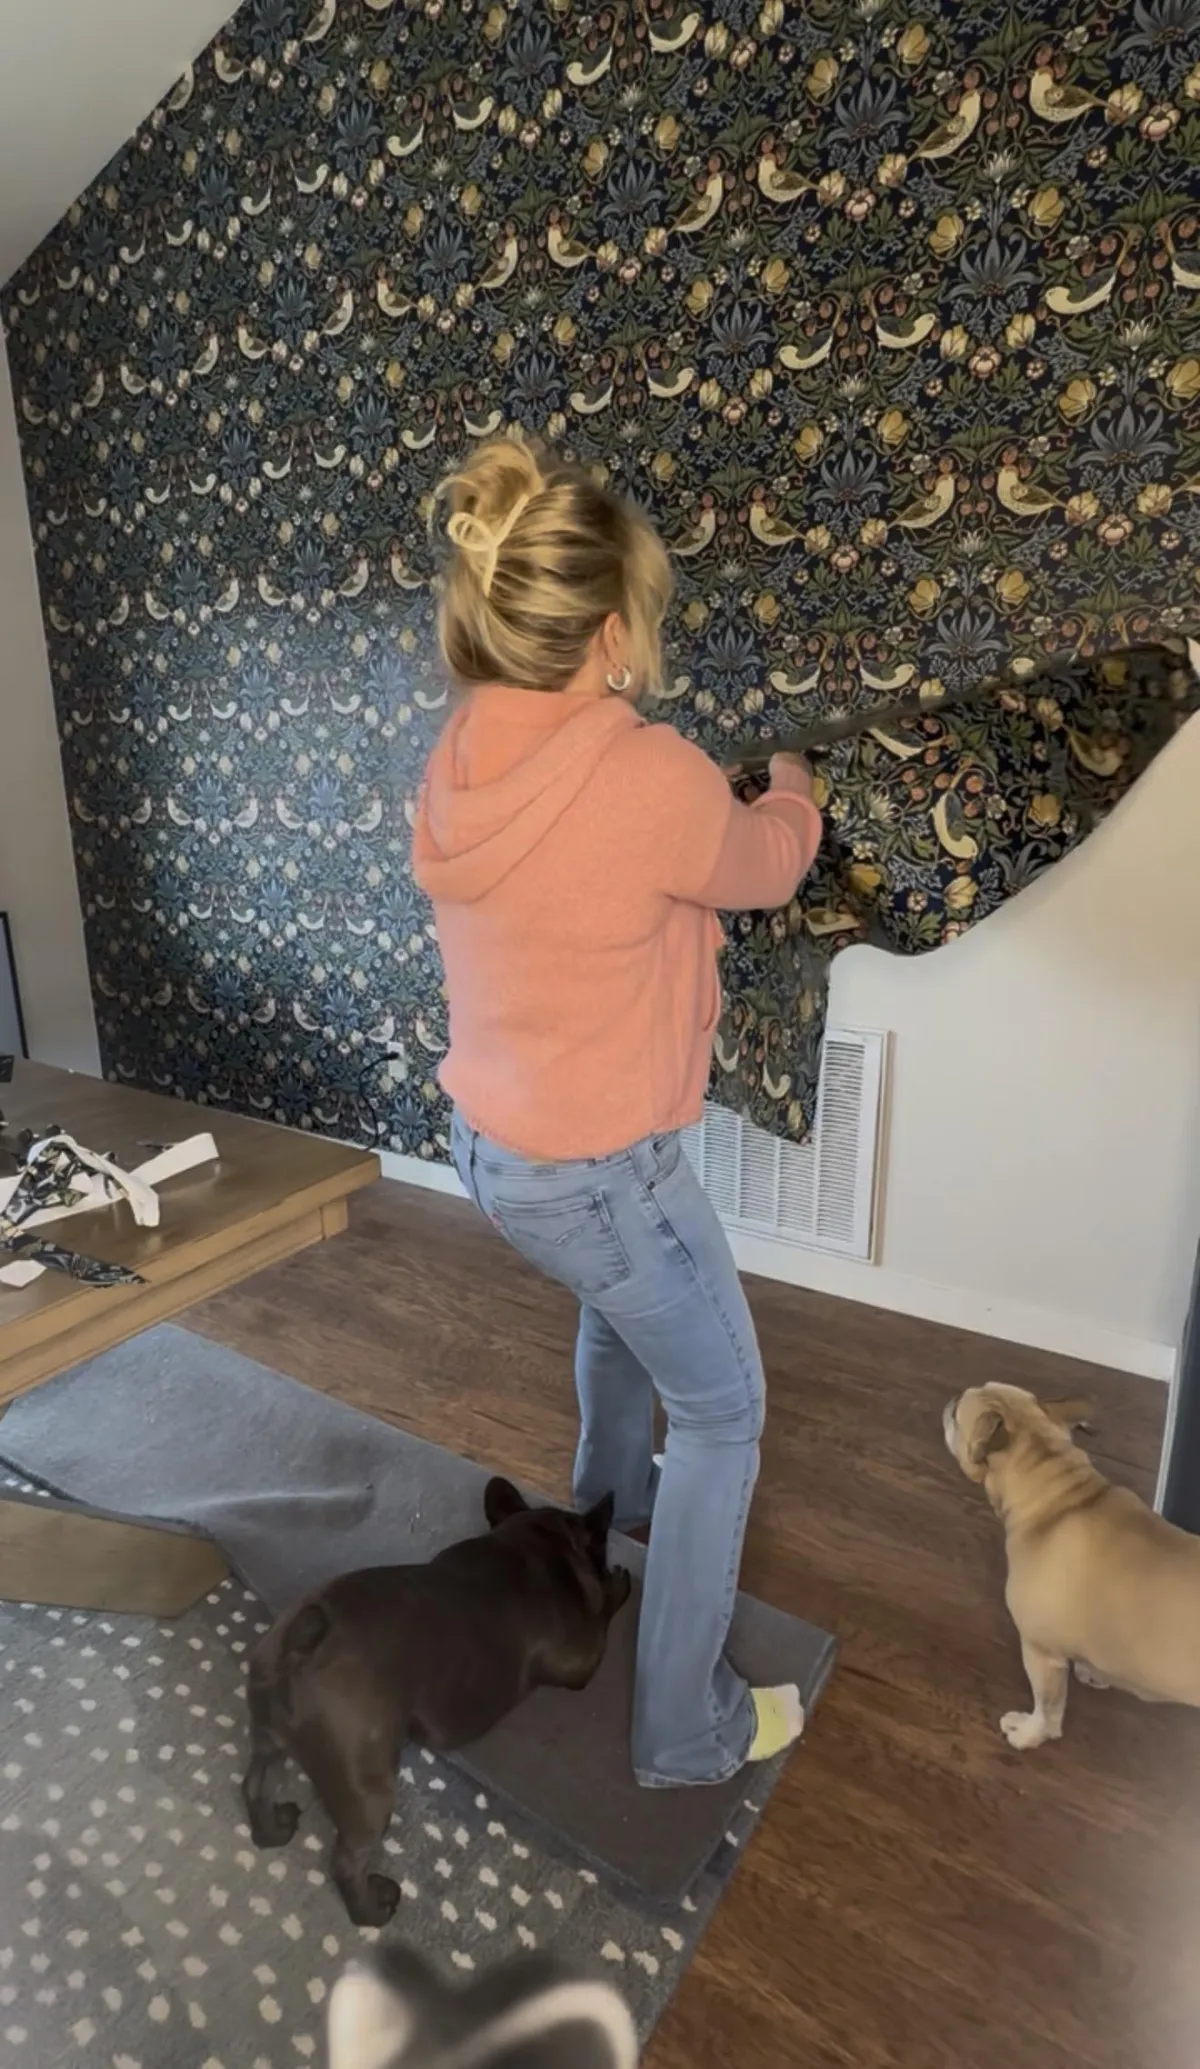
Before
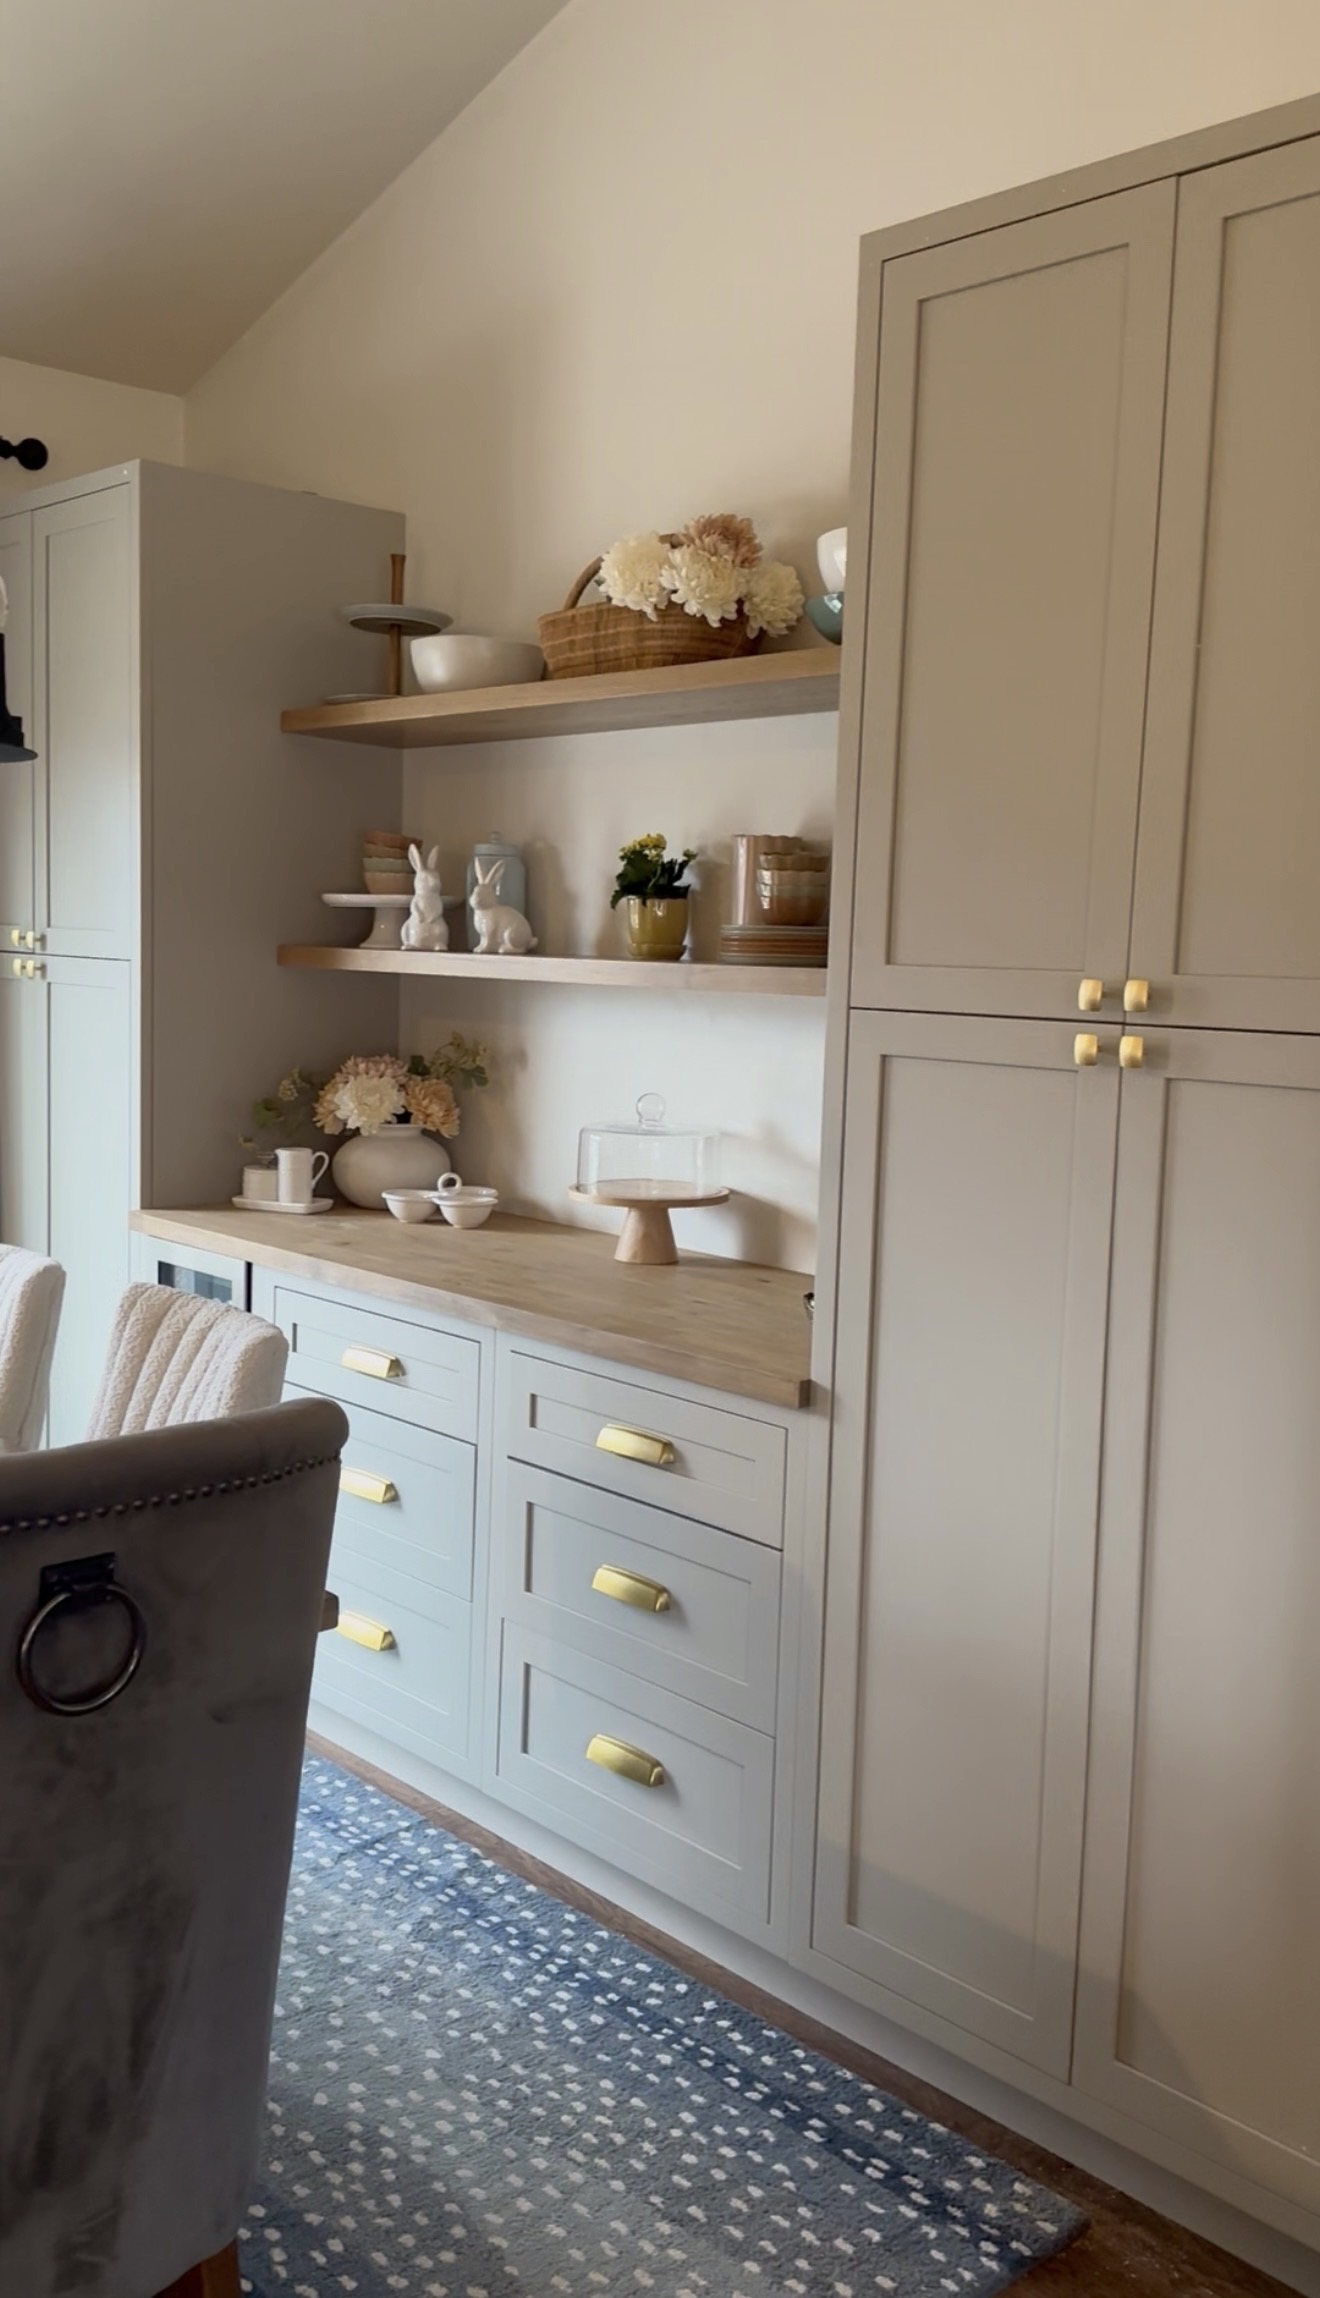
After
My pantry storage situation simply was not working. I had one small pantry cabinet in the kitchen and food was overflowing into my laundry room, so I needed a better storage solution. I decided to install Ready-to-Assemble cabinets in my dining room to create a full pantry storage wall and buffet area that would dramatically improve the function of the space.
I was honestly shocked at the quality of these RTA cabinets. They are flush-inset cabinets, which is typically considered a high-end cabinet style. The boxes are plywood, the construction was excellent, and the finish quality is beautiful and durable. Even better, they were incredibly easy to assemble. I wish I had known about RTA cabinets years ago because the ability to customize the layout allowed me to design exactly the storage I needed.
The transformation completely changed how this area of our home functions. I installed a butcher block countertop, added floating shelves, and incorporated a small refrigerator, turning the space into a highly functional pantry and buffet.
The cabinet color, Tuscan Gray, is very close to Sherwin Williams Worldly Gray, which is just slightly lighter.
Design Strategy
• Solved an overflow pantry problem by creating a full storage wall in the dining room
• Used flush inset RTA cabinets to achieve a high end cabinet look at a much lower cost
• Designed the layout to combine pantry storage, buffet function, and beverage space
• Added butcher block countertops to create a durable and warm work surface
• Installed floating shelves above to provide additional storage and display space
• Repeated the cabinet style near the fireplace to begin building future built in storage
DIY Lessons Learned
• RTA cabinets can be surprisingly high quality when you choose well constructed plywood boxes
• Flush inset cabinets provide a custom cabinet look without the custom cabinet price
• These cabinets assemble very easily and can dramatically speed up a renovation project
• Designing the cabinet layout first is the key to maximizing storage and function
• Shallower wall cabinets can work well in tight spaces like living rooms or hallways
• Building a simple base allows wall cabinets to function as beautiful built in storage
Watch me build it!
Want the exact tools and materials I used?
Shop the sources below.
Some links may be affiliate links.
DIY Fireplace Built In Cabinets
Turning 14 Inch Wall Cabinets Into Fireplace Built In Storage
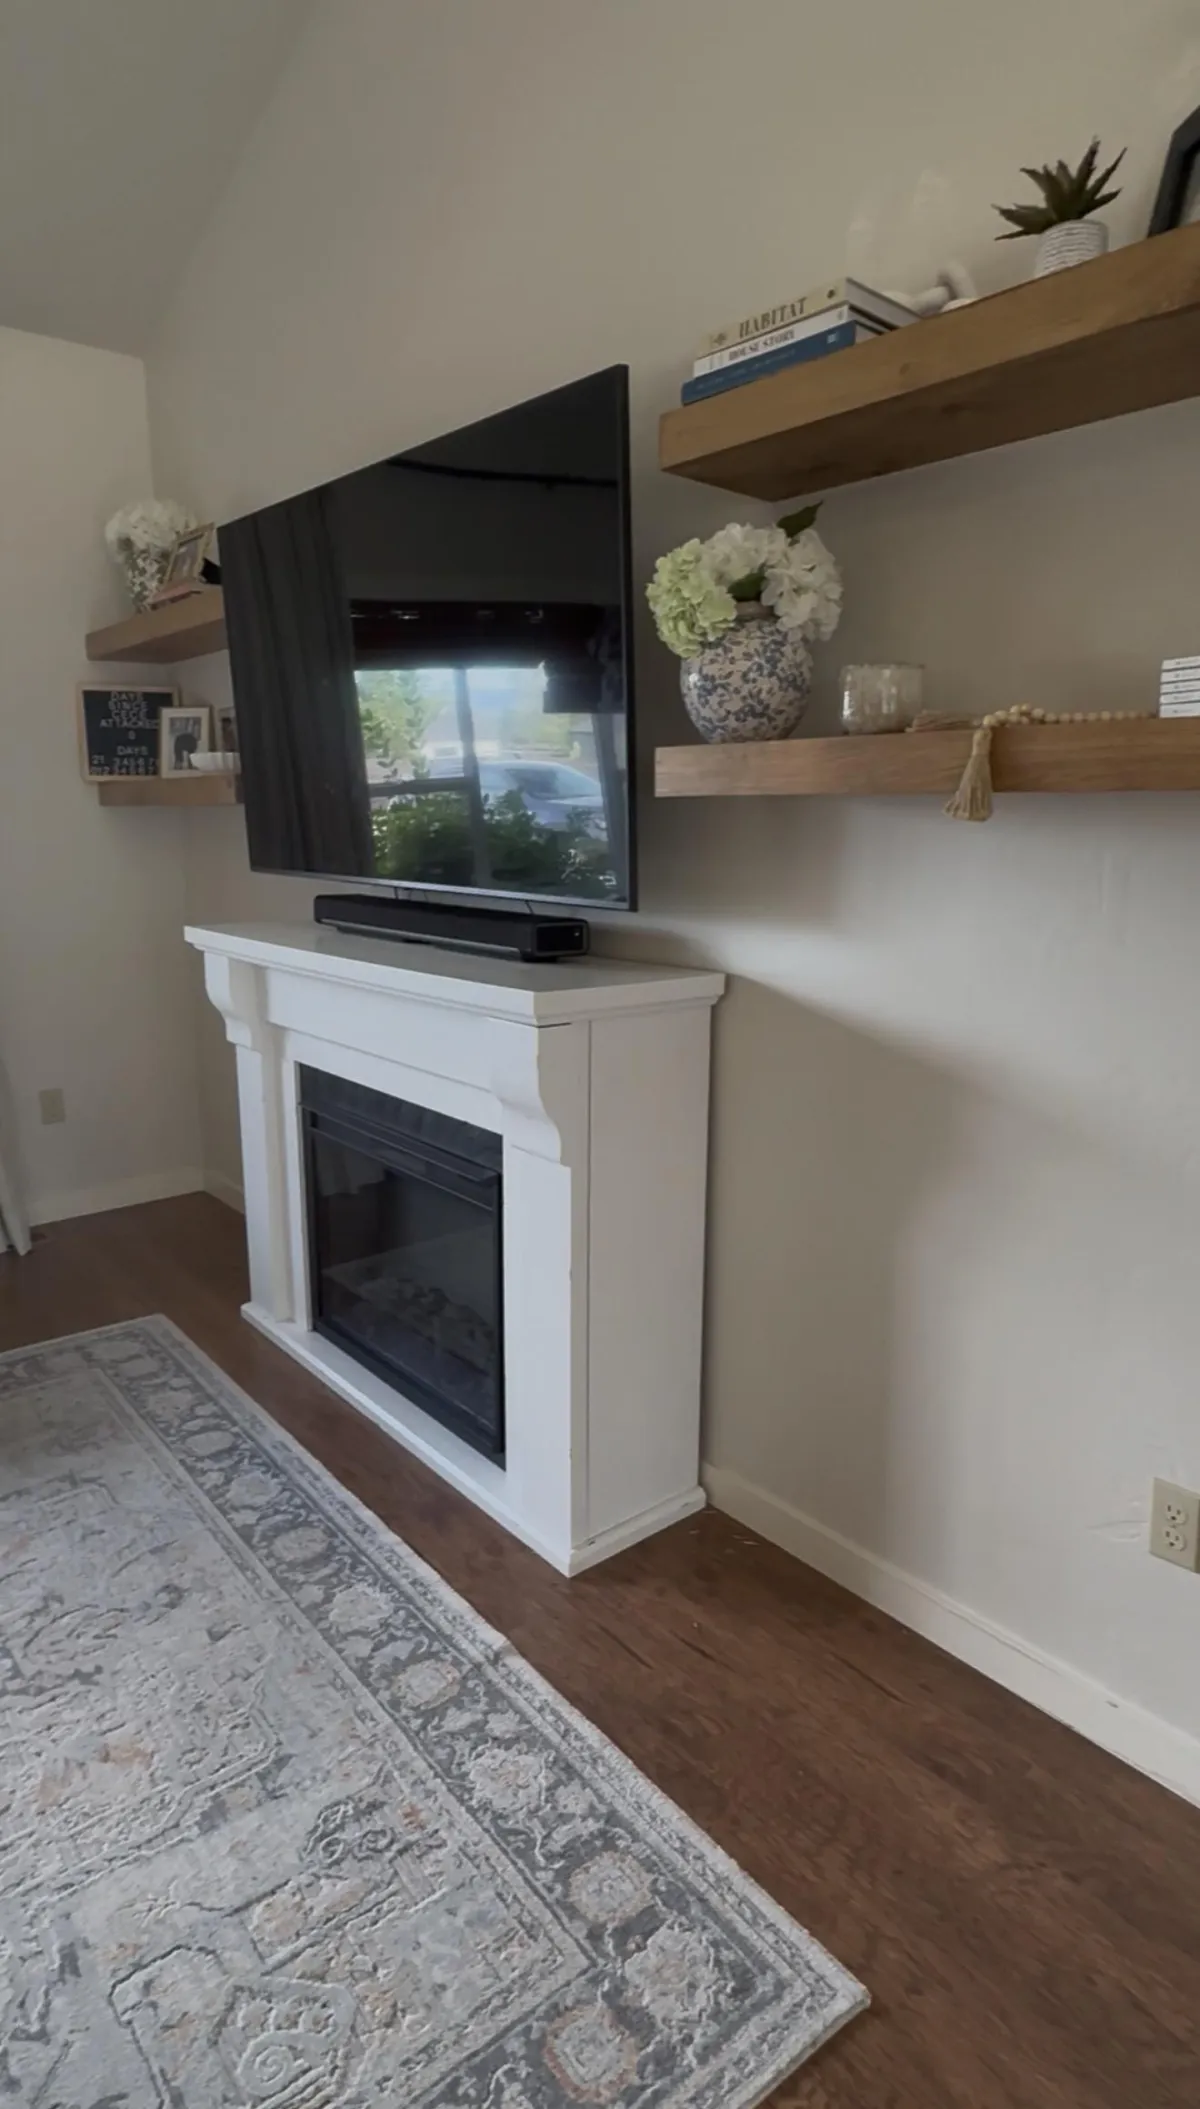
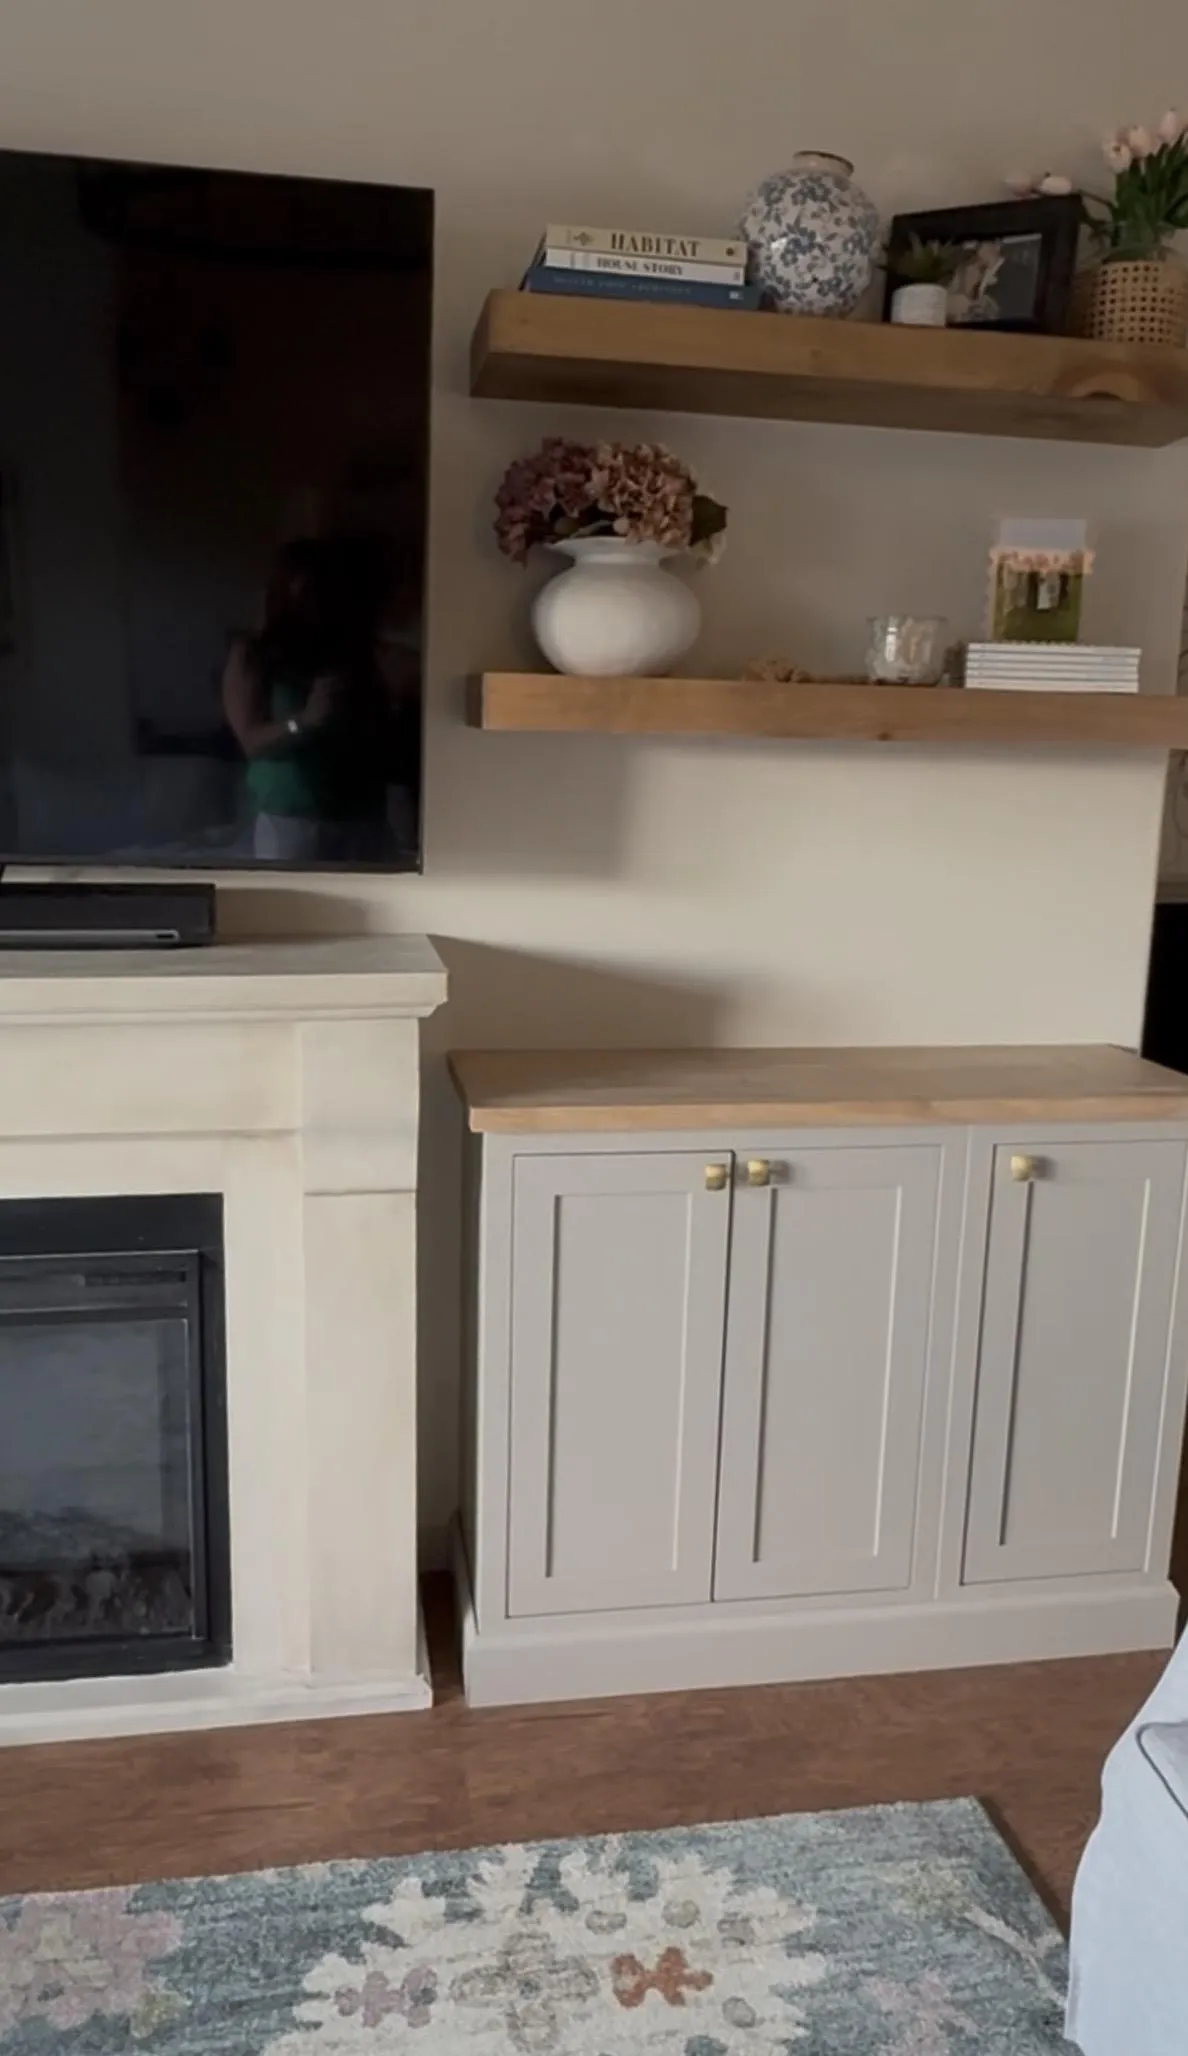
After seeing how well these cabinets worked, I used them again in another part of the house. I installed 14-inch deep wall cabinets on either side of our fireplace to create storage and the beginning of future built-ins.
Because my living room space is tight, the shallower cabinets worked perfectly. I built bases to raise them to the proper height and installed them as bookcase-style storage.
Eventually, I plan to expand this area into a full fireplace surround with built-in shelving, but for now, it adds both storage and a beautiful architectural feature to the room.
Design Strategy
• Used 14-inch deep wall cabinets to work within a tighter living room footprint
• Built custom bases so the cabinets could function like built-in bookcases
• Positioned cabinets on both sides of the fireplace to begin creating a future built-in wall
• Selected Tuscan Gray to coordinate with the dining room buffet cabinetry for a cohesive look
• Added floating shelves above to create vertical storage and display space
• Designed the project so it can easily evolve into a full fireplace surround later
DIY Lessons Learned
• Wall cabinets can work beautifully as built-ins when placed on a properly sized base
• Always measure the depth of your room before choosing cabinet depth so the space does not feel crowded
• Shallower cabinets like, 14-inch depth, work very well for bookshelves and display storage
• Building a base first allows you to control the final height and align cabinets with surrounding trim
• Simply add base molding to cover the framing, then color-match and paint the same color as the cabinets
• Planning future projects during the initial install makes it much easier to expand into full built-ins later
Before
After
Watch me build it!
Want the exact tools and materials I used?
Shop the sources below
Some links may be affiliate links.
SHOP THE PRODUCTS, MATERIALS, AND TOOLS
I USE TO DESIGN AND BUILD MY HOME
CLICK ON ANY IMAGE FOR THE LINKS
You've seen the projects.
Now build them yourself.
Step-by-step guidance, project plans, and designer support.
Everything you need to transform your home with confidence.

Design-led DIY education for women ready to build confidently.
Quick Links
Copyright 2026 Design with Rhonda | Terms & Conditions | Privacy Policy