
Garage Workshop Transformation
From Garage Chaos to a Beautiful, Functional DIY Workshop
Project Snapshot
Location: Garage Workshop
Project Type: Garage Workshop Makeover
DIY Level: Beginner to Intermediate
Time: Weekend Project
Key Materials: Cabinets, Butcher Block Countertop, Slat Wall Panels, Floating Shelves, Rechargable Sconces
Paint Color: Sherwin Williams Exclusive Plum
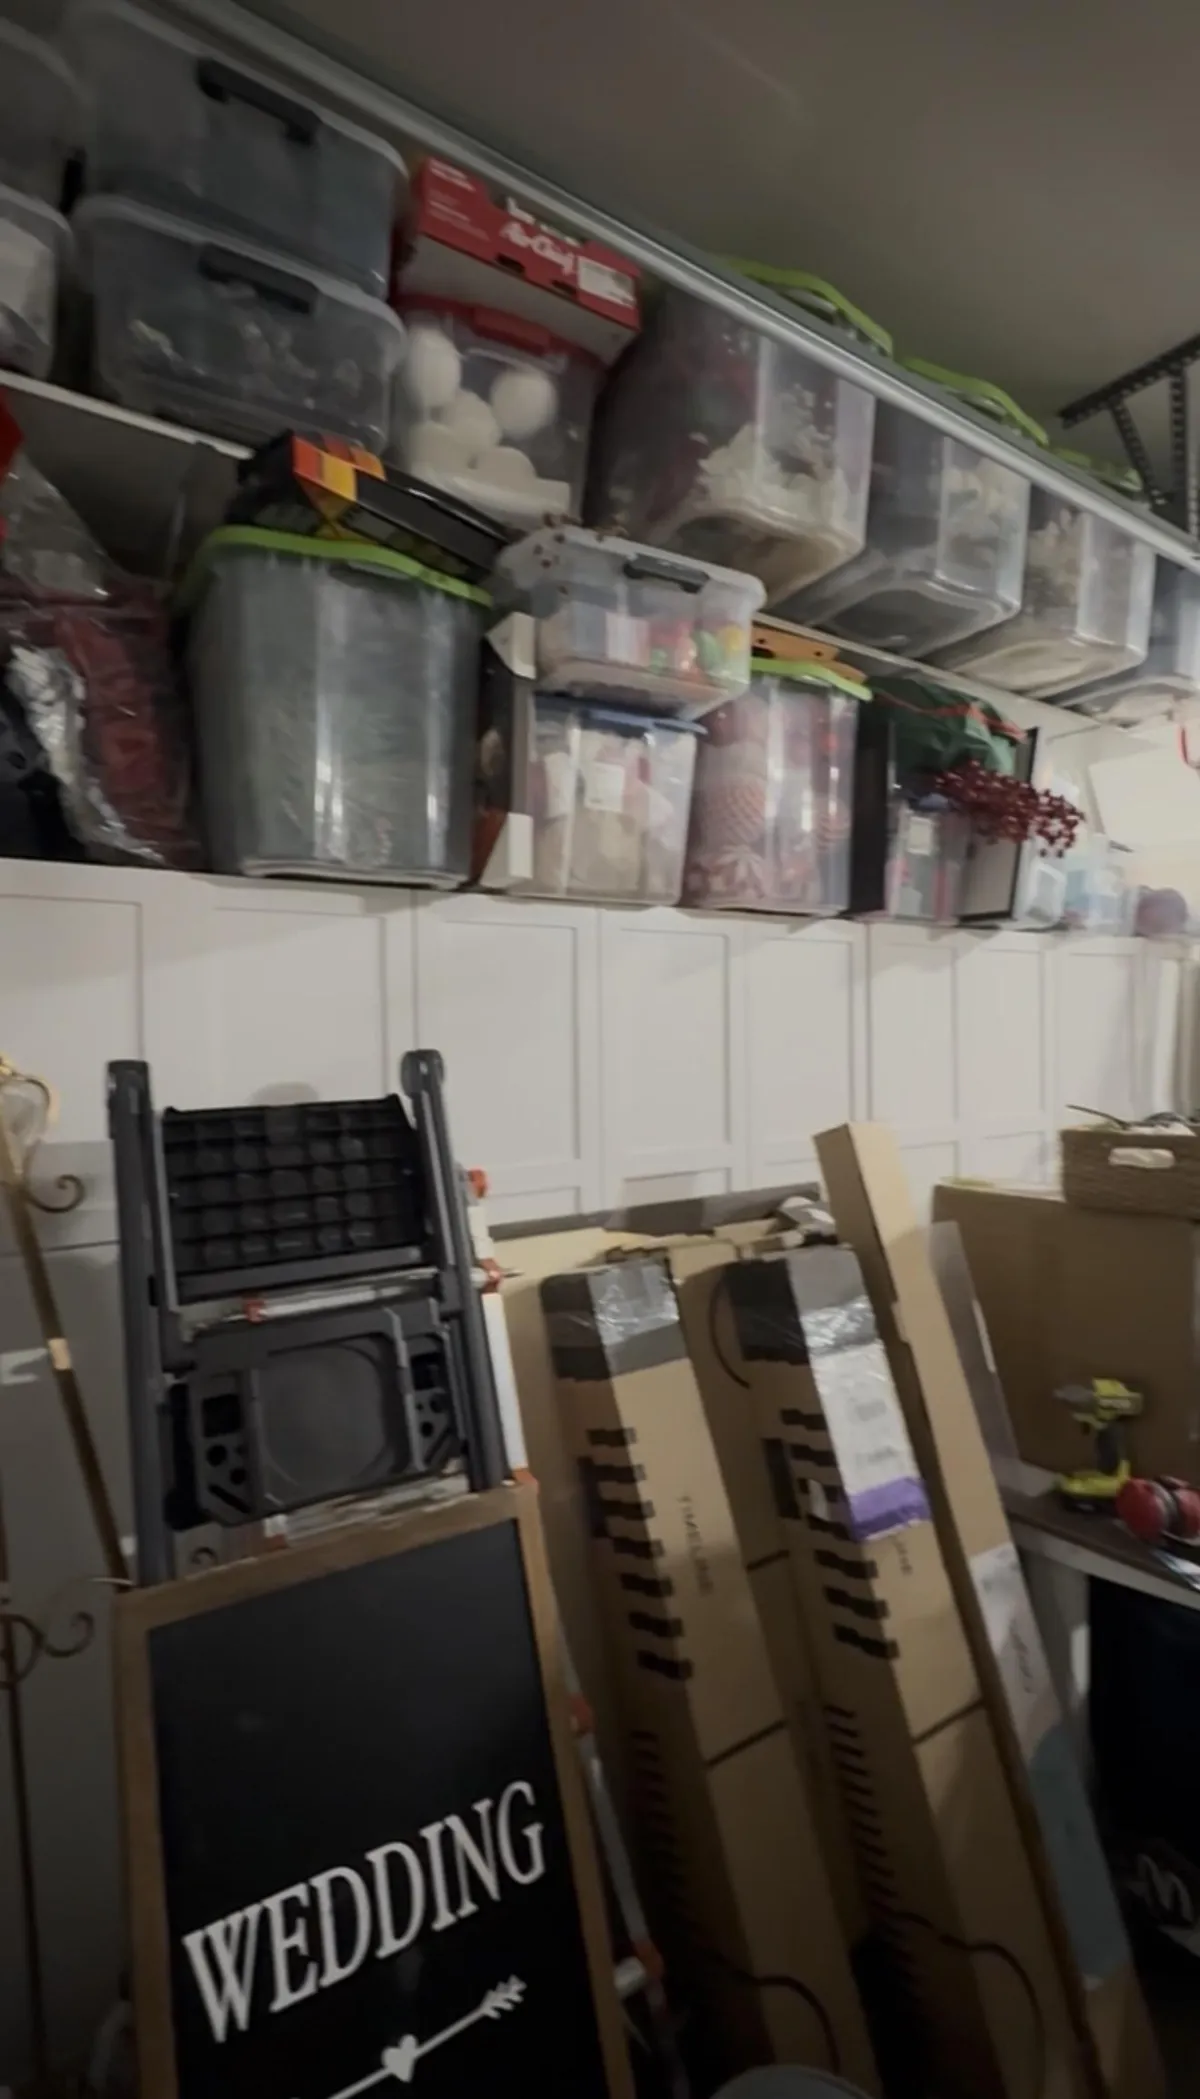
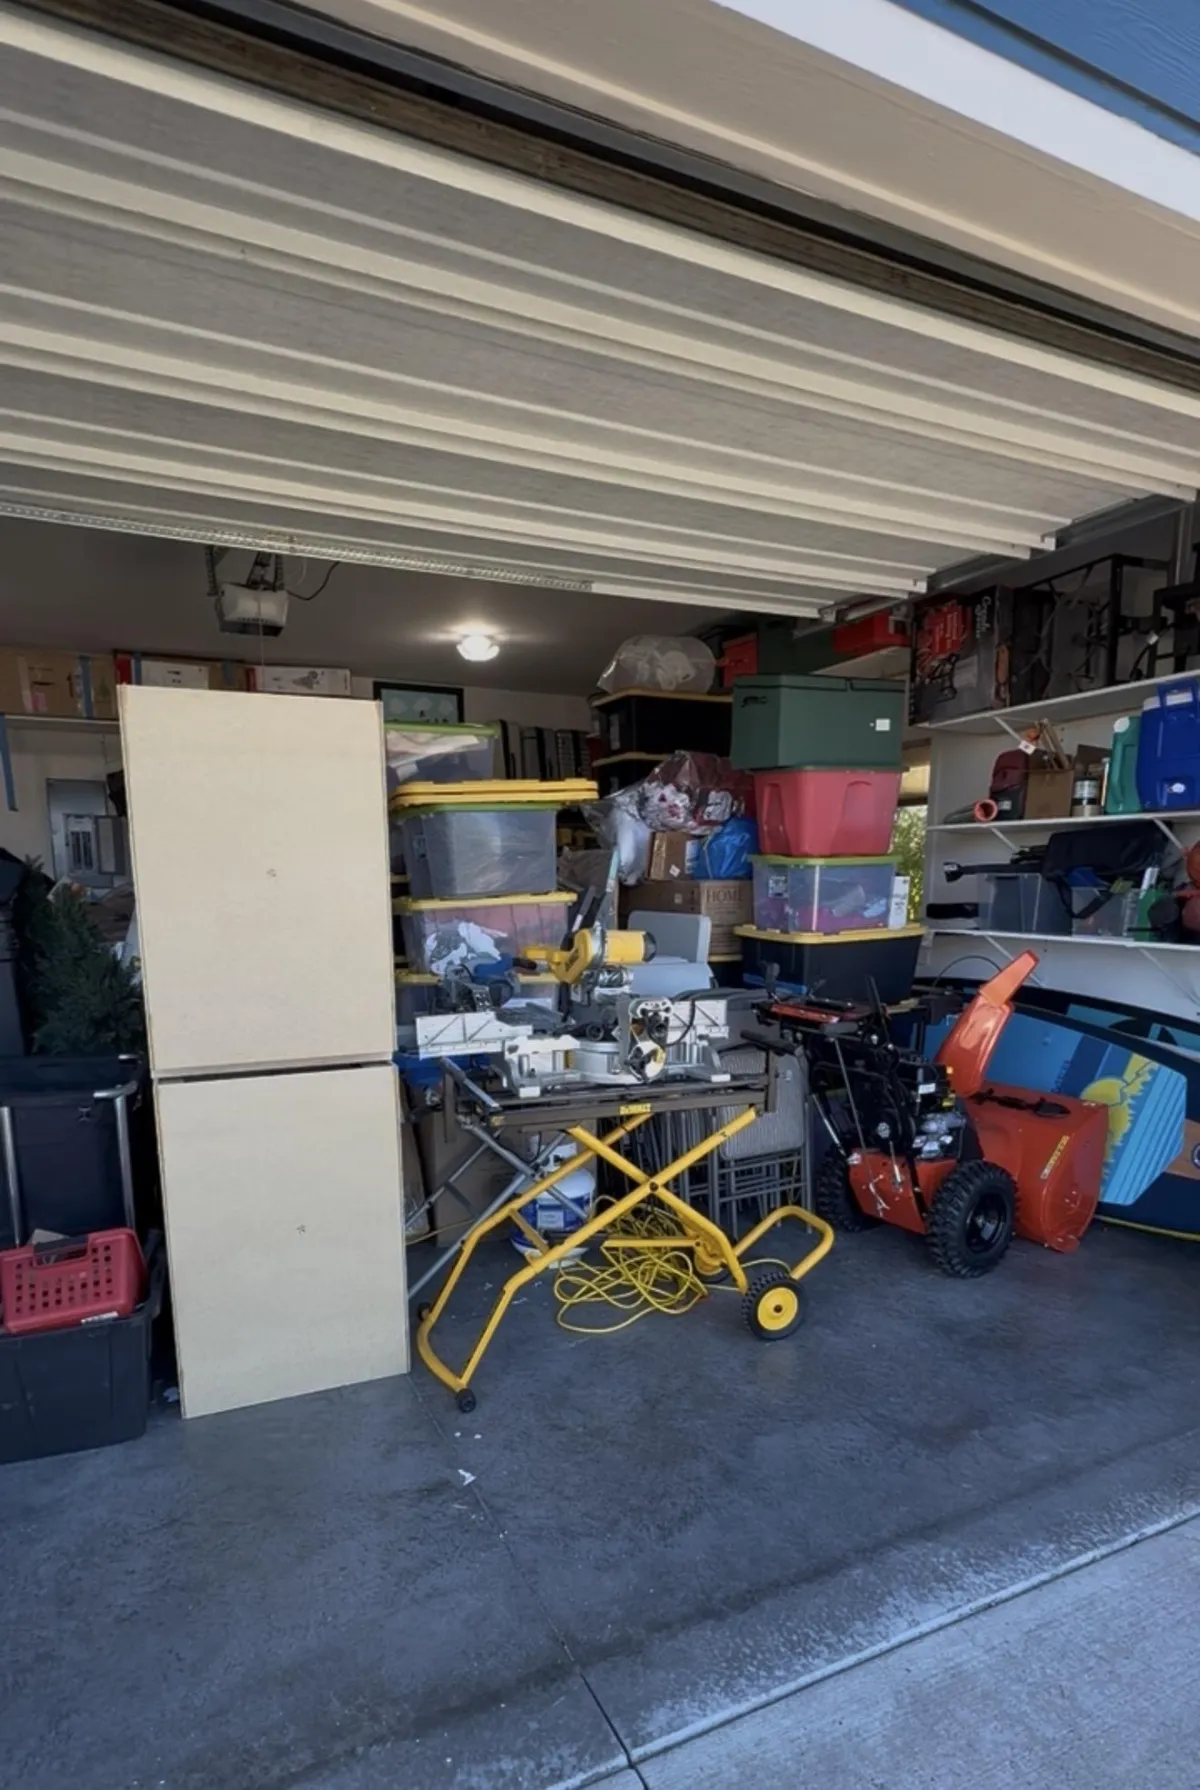
Before
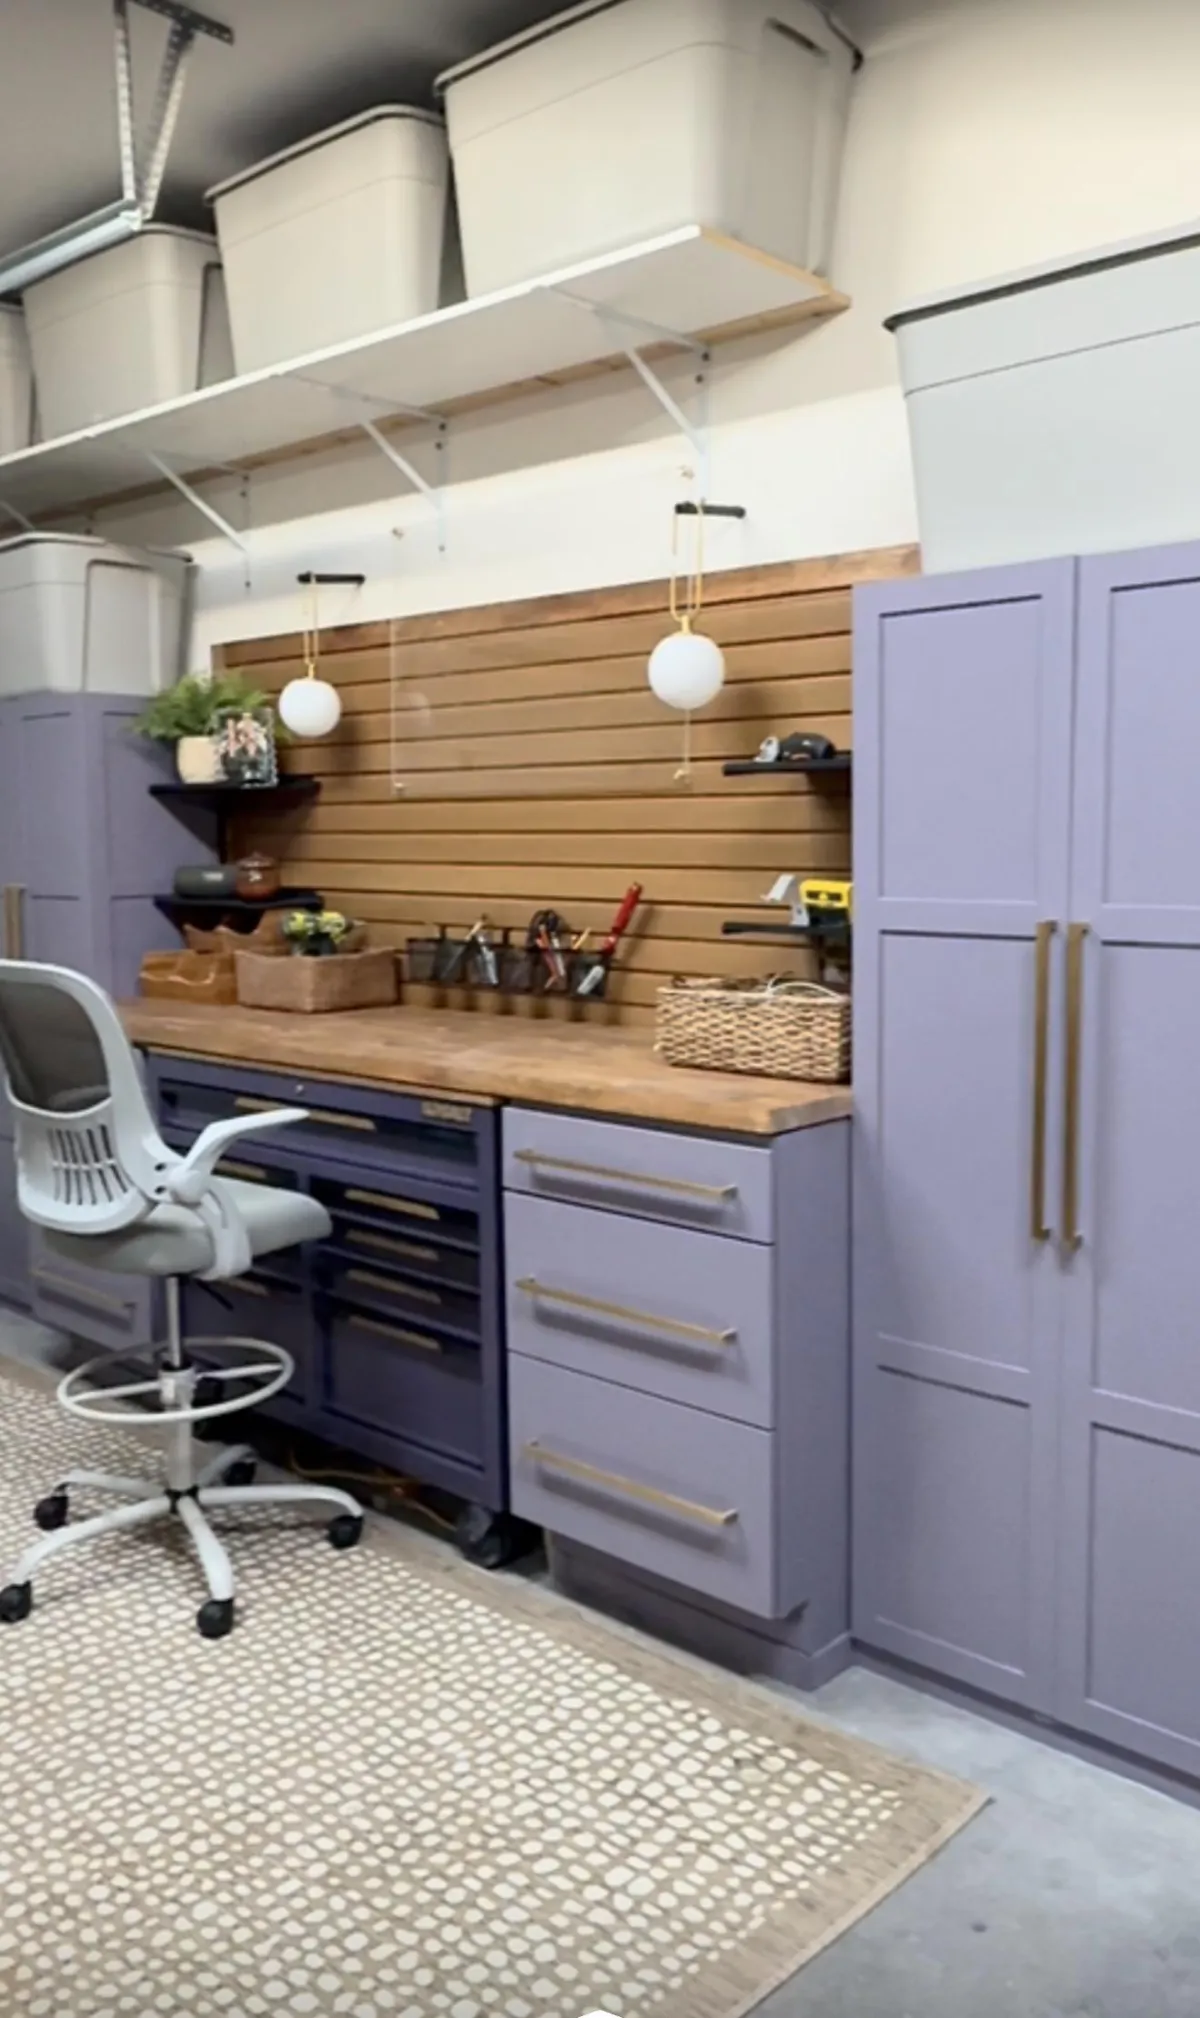
After
My garage started as a dark, cluttered, chaotic space, but with a few smart upgrades it turned into a workshop I truly love working in. I installed cabinets on both sides of my tool chest and built custom bases under the cabinet drawers so they could sit higher and clear the tool chest. That allowed me to run one continuous butcher block countertop across the entire workbench for a clean, functional surface, and I can easily remove the tool chest if needed.
Above the work area, I installed a wood-look slat wall and floating shelves for storage and display. The butcher block was stained with Minwax Special Walnut and finished with Rubio Monocoat for durability.
I refreshed the existing cabinets with Sherwin-Williams extreme bonding primer and 6263 Exclusive Plum paint. Then I completely transformed my tool chest using Rust Oleum self etching primer and gloss black spray paint. I also had Sherwin Williams create a custom spray paint in the color 6265 Quixotic Plum to finish spraying out the toolchest.
Then the finishing touches... I added new cabinet and drawer hardware, installed skylight style fixtures, mounted rechargeable wall sconces, and layered in a rug to warm up the space. The result is a workshop that feels organized, inspiring, and built for real DIY projects.
This garage workshop makeover is a great example of how DIY garage organization and thoughtful design can transform a cluttered garage into a functional workspace.
Design Strategy
• Raised cabinets above the tool chest to create one continuous butcher block work surface
• Slat wall adds vertical storage while keeping tools visible and accessible
• Floating shelves provide display space without crowding the workbench
• Sherwin Williams Exclusive Plum adds personality to an otherwise utilitarian space
DIY Lessons Learned
• Build cabinet bases before installing the countertop
• Self etching primer is essential when painting metal tool chests
• Custom spray paint from Sherwin Williams gives a much more durable finish
• Slat wall panels are a great way to add vertical storage in small workshops
Watch me build it!
Want the exact tools and materials I used?
Shop the sources below.
Some links may be affiliate links.
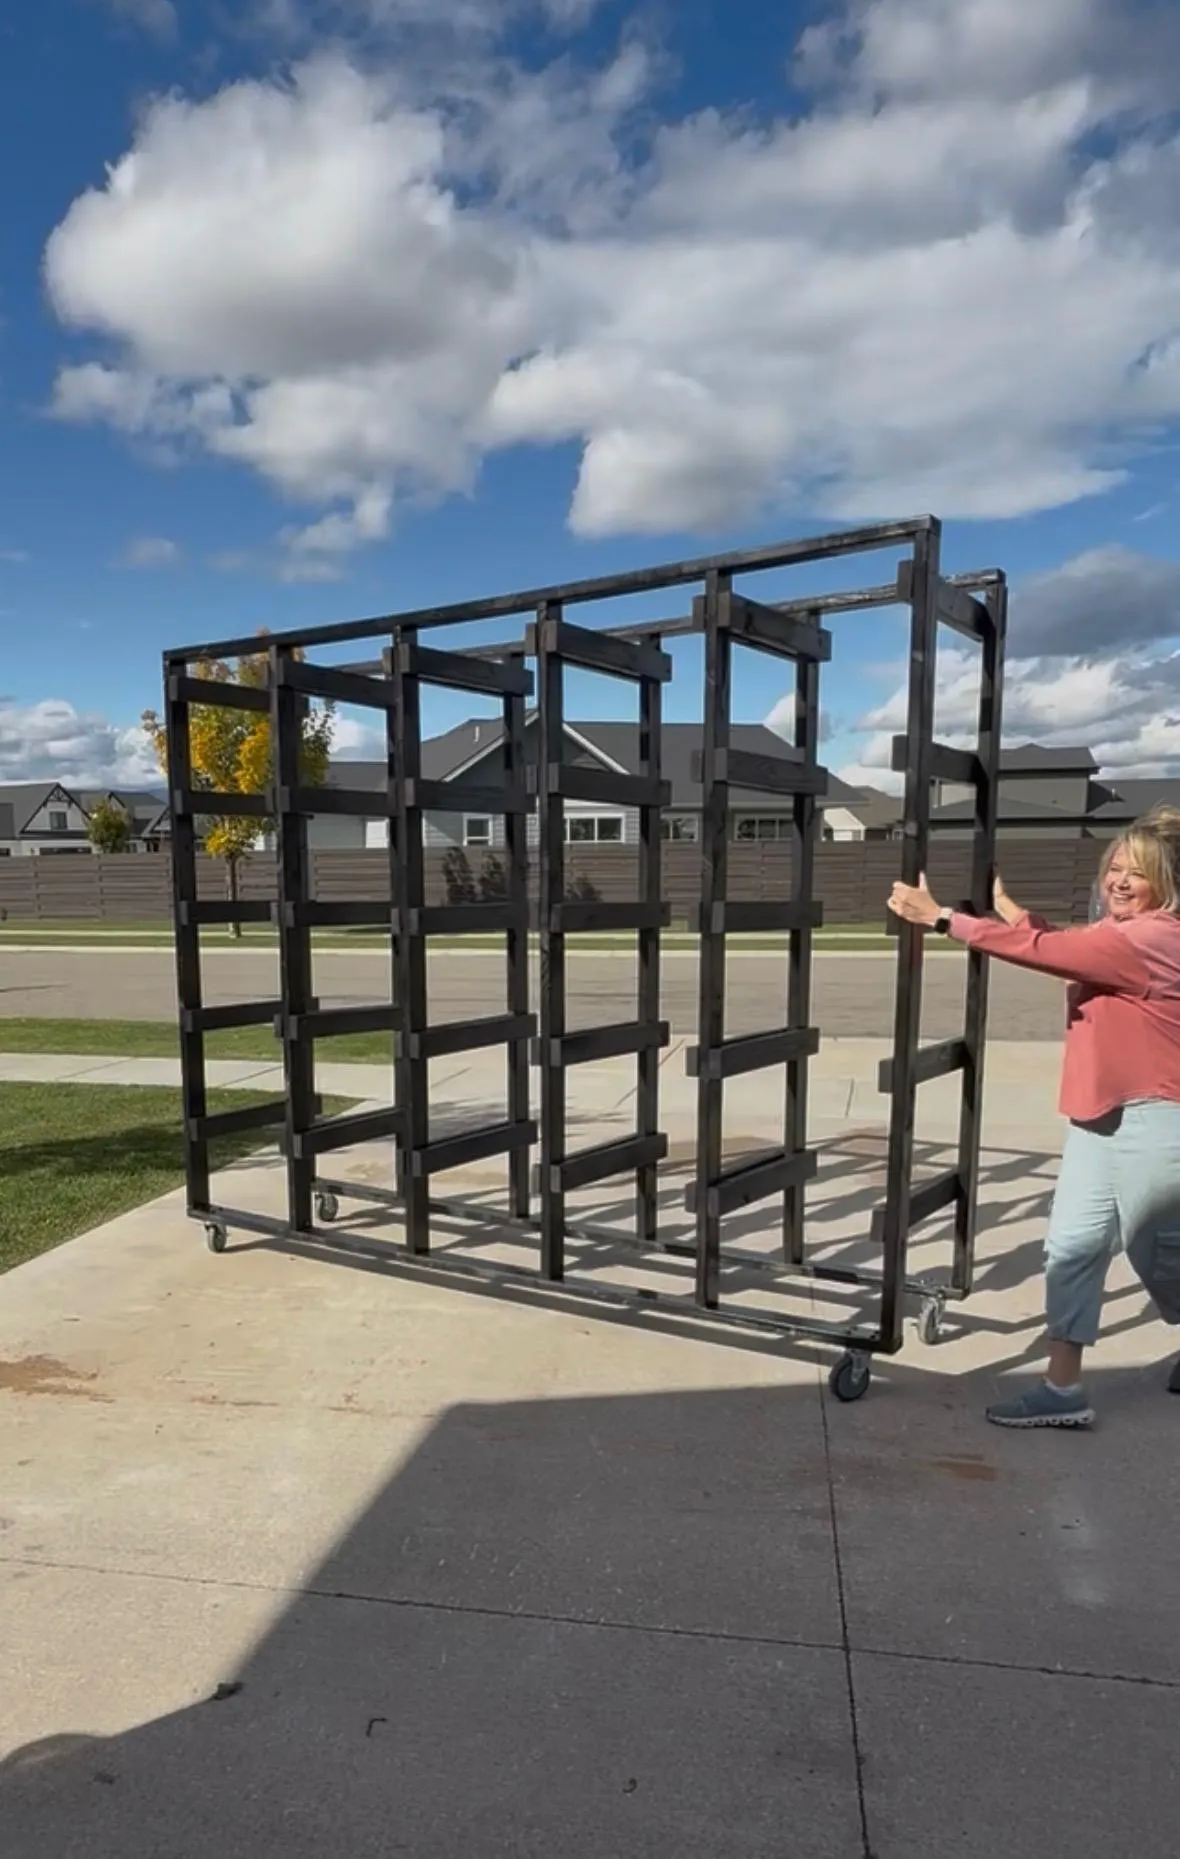
DIY Garage Storage Rack
The Simple DIY Storage Rack That Finally Organized My Garage
One of the biggest challenges in a garage is managing bulky storage bins without the space turning into chaos. I built this simple DIY storage rack using basic lumber to create a clean, functional system specifically sized for the popular 27 gallon storage totes.
The build itself is straightforward and beginner friendly, but the impact on garage organization is huge. I spray painted the rack black to give it a more finished, workshop style look and added wheels so it can easily move around the garage when needed. Now the totes slide in and out smoothly, seasonal items stay organized, and the entire space feels more intentional and functional.
It is a great example of how a simple DIY project can dramatically improve storage, organization, and the overall look of a hardworking space like a garage.
Design Strategy
• Designed specifically to fit the popular 27 gallon storage totes so everything stacks neatly and stays accessible
• Built vertically to maximize unused garage wall space and keep the floor clear
• Added wheels so the entire rack can move easily when cleaning or reorganizing the garage
• Painted the rack black to give it a cleaner workshop look instead of raw construction lumber
• Open frame design keeps the build simple while allowing totes to slide in and out smoothly
DIY Lessons Learned
• Measure the height of your garage opening first, especially if you plan to add wheels so the rack still clears the door
• This project uses more spray paint than you think, plan for multiple cans (I used 7)
• Always pre drill holes in the lumber before driving screws to prevent splitting
• Wood screws hold the structure together much better than nails for this type of build
• An impact driver makes assembly much faster and easier
• Measure everything first, then cut your boards with a miter saw to keep the frame square
• I used six heavy duty wheels so the rack can move smoothly even when it is fully loaded with totes
Before
After
Watch me build it!
Want the exact tools and materials I used?
Shop the sources below
Some links may be affiliate links.
SHOP THE PRODUCTS, MATERIALS, AND TOOLS
I USE TO DESIGN AND BUILD MY HOME
CLICK ON ANY IMAGE FOR THE LINKS
You've seen the projects.
Now build them yourself.
Step-by-step guidance, project plans, and designer support.
Everything you need to transform your home with confidence.

Design-led DIY education for women ready to build confidently.
Quick Links
Copyright 2026 Design with Rhonda | Terms & Conditions | Privacy Policy